- Published on
Spring Boot를 활용한 간단한 MVC web app 만들어보기
- Authors

- Name
- Youngju Kim
- @fjvbn20031
Spring Boot를 활용하여 MVC 구조를 가지는 web application을 만들어보도록 하겠습니다. 예전 (JSP 시절)에는 M(Model), V(View), C(Controller)의 구분 없이 View에서 모든 로직을 처리하던 시절이 있었다고 합니다. 간단한 페이지라면 이 구조도 상관이 없겠지만, 복잡한 web의 경우 Jsp 문법으로 작성된 웹페이지 파일 하나가 수천줄은 거뜬히 넘어가게 되고 이에따라 시간이 지나면서 기능 추가나 유지보수가 힘들게 됩니다. 이 때문에 현재는 예전 Model1(MV) 구조보다는, View와 Controller를 분리한 MVC패턴으로 개발하게 됩니다.
이번 포스팅에서는 지난번 Simple Spring Boot Application 만들기 에서 만들었던 프로젝트에 hello-mvc controller를 추가하여 Spring Boot에서는 MVC 구조를 어떻게 구현하는지 알아보도록 하겠습니다.
Hello web page
Hello Controller 수정
HelloController.java에 아래와 같은 helloMvc 함수를 정의합니다. controller가 hello-template 이라는 문자열을 return하게 되면 Spring의 viewResolver가 template 파일에서 해당 문자열과 일치하는 template을 찾아 줍니다.
    @GetMapping("hello-mvc")
    public String helloMvc(@RequestParam("name") String name, Model model){
        model.addAttribute("name", name);
        return "hello-template";
    }
hello-template.html 수정
hello-template.html 파일을 아래와 같은 내용으로 생성합니다.
<!DOCTYPE html>
<html xmlns:th="http://www.thymeleaf.org">
<head>
    <meta charset="UTF-8">
    <title>Hello template</title>
</head>
<body>
<p th:text="'hello ' + ${name}" >hello! empty</p>
</body>
</html>
hello-mvc web page 확인
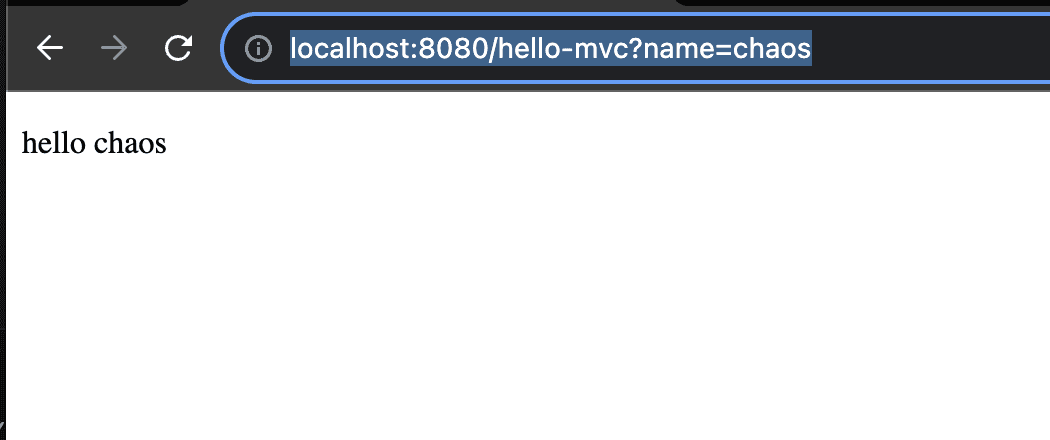
Spring 을 재시작 한 뒤, localhost:8080 뒤에 hello-mvc url에 접근하여 'name' parameter로 'chaos'를 전달하면 (ex http://localhost:8080/hello-mvc?name=chaos) Controller가 이 정보를 view에 전달하고 우리가 예상했던 hello chaos가 아래처럼 출력되는 것을 확인할 수 있습니다. chrome 에서 f-12 버튼을 눌러 페이지 소스를 확인하면, html이 잘 생성된 것을 확인할 수 있습니다.

Hello API
Hello Controller 수정
HTML 파일을 return해줘야 할 상황도 있지만, HTML이 아닌 Json data만 Return하는 API만 제공하는 경우에는 어떻게 해야할까요?
HelloController.java에 아래와 같은 Hello 라는 객체를 정의합니다.
        static class Hello{
        private String name;

        public String getName() {
            return name;
        }

        public void setName(String name) {
            this.name = name;
        }
    }
그리고 helloApi 함수를 아래와 같이 정의합니다. 이전에는 문자열을 리턴했지만, 이번에는 객체를 리턴합니다. 이번에는 @ResponseBody를 붙여주었고 문자열이 아닌 객체를 리턴했기 때문에 viewResolver 대신 HttpMessageConverter와 이 내부의 JsonConverter(MappingJackson2HttpMessageConverter)가 동작합니다. 이렇게 하면 HTTP Body에 해당 객체가 json 형식으로 담겨서 사용자에게 Return됩니다.
    @GetMapping("hello-api")
    @ResponseBody
    public Hello helloApi(@RequestParam("name") String name){
        Hello hello = new Hello();
        hello.setName(name);
        return hello;
    }
hello-api 작동 확인
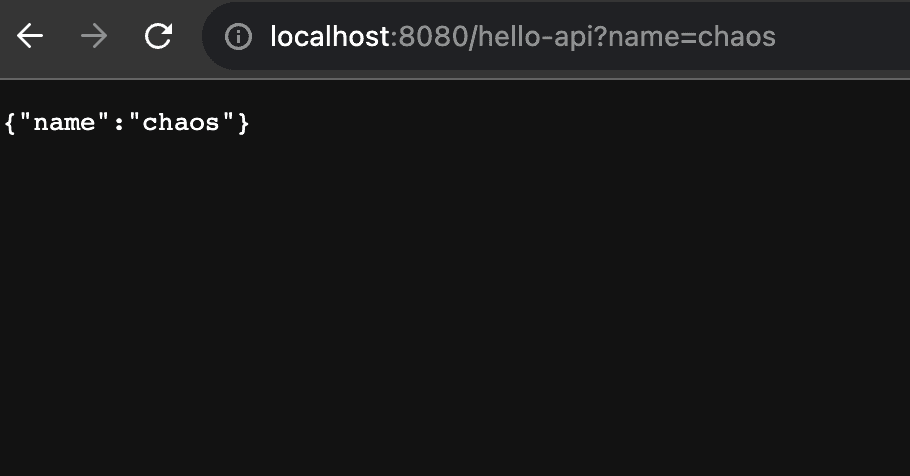
localhost:8080 뒤에 hello-api url에 접근하여 'name' parameter로 'chaos'를 전달하면 이번에는 html형식이 아닌, Json 타입의 데이터가 리턴된 것을 확인할 수 있습니다.

References
- 김영한님의 인프런 강의: 스프링-입문-스프링부트